
If you’re planning for DIY roof installation, then it’s a great choice and adventurous task to give your home a look you want. However, before roof installation you should know how it works. Let us examine the complete procedure step-by-step guide to understand how DIY roofing installation services work.
What Is Required to Replace Your Home’s Roof?
You can save thousands of dollars on labour charges by installing a roof yourself. However, the material prices are high and cover a lot more than just shingles. You’ll need a number of tools and safety gear.
Obtaining Permits
Roofing installations are often required to obtain permits. You could require a building permit from your county or city, depending on where you live.
Roofing Material and Tools
A fairly precise collection of tools is needed for roofing. To cut and secure the roofing materials in place, you’ll need the appropriate tools. Collect the following materials and tools before starting to install a new roof.
| Tools for DIY roof installation | Roofing Material |
| A fall arrest system and safety harness | The underlayment |
| Staples and caulk guns | Staples for Sealant |
| A nailer for roofing | Sealant for roofing nails |
| Gloves for work | Shingles of asphalt |
| Air compressor and air hose | Flashing on the drip edge for valleys, |
| Straightedge snippets of tin | Blades of hooks |
| Blades and a utility knife | Vents and dormers |
A Complete Roofing Process Step By Step Guide
Step 1: Remove the old shingles
Before starting DIY roof fitting, clear the nearby area to prevent any mishap. Now get rid of old shingles and old nails. The most efficient strategy is to use a tear-off shovel for shingle removal and a pry bar to pry off the ridge cap shingles. To work smart, place a dumper near your roof to dispose of the old material.
Step 2: Add new vent holes and fix the decking
Any decking that exhibits rot or water damage should be replaced. This step can be skipped if your existing roof is not too old, however, in older roofs step 2 is crucial. Make sure the circular saw’s blade depth is slightly greater than the decking’s thickness to avoid cutting into a joist. Next, trim each damaged region into a rectangle. If you plan to install any more vents or skylights, now is the perfect time to cut the openings.
Step 3: Place a drip edge on the eaves.
Fasten the drip edge that covers the fascia of the eaves. The fascia is probably not perfectly straight, so don’t tear a line. Rather, firmly grasp the drip edge against the fascia and fasten it across the highest point into the decking using roofing nails. Secure it for each set of feet with 1-1/4-inch roofing nails, then trim it to the proper length with tin snips.
Step 4: Install Stick on ice barrier
Now the next step in the process of installing the roof is placing the ice barriers. Where necessary, add self-stick underlayment during your roof installation. It stops water penetration from seeping through nail holes and protects the area around nails.
Step 5: Lay felt paper for roofing
Apply roofing felt paper on the roof. Felt paper can be placed on the ice-barrier sheet or placed directly on the decking. In this method, lightweight paper weighing 15 to 30 pounds is typically employed.
Step 6: Put in place valley flashing
While the gaps between the sloping sections are especially vulnerable to leaks, metal valley flashing is required to protect complicated roofs with several peaks. There are some steps you should follow before installing your roof.
- After cutting the self-stick underlayment to size, Remove the plastic backing and then apply it carefully. Now fold the underlayment in on itself, sticky side out. Then unfold it and set it down in the valley.
- Cover the self-stick underlayment with felt paper.
- Put the flashing in place. Install the flashing. Use tin snips and cut the bottom edge flush.
Step 7: Install vents
Now it’s time to install necessary vents. These commonly flash on their own. After positioning the vent or skylight over the entrance and fastening it with nails pierced through the flashing, seal it properly.
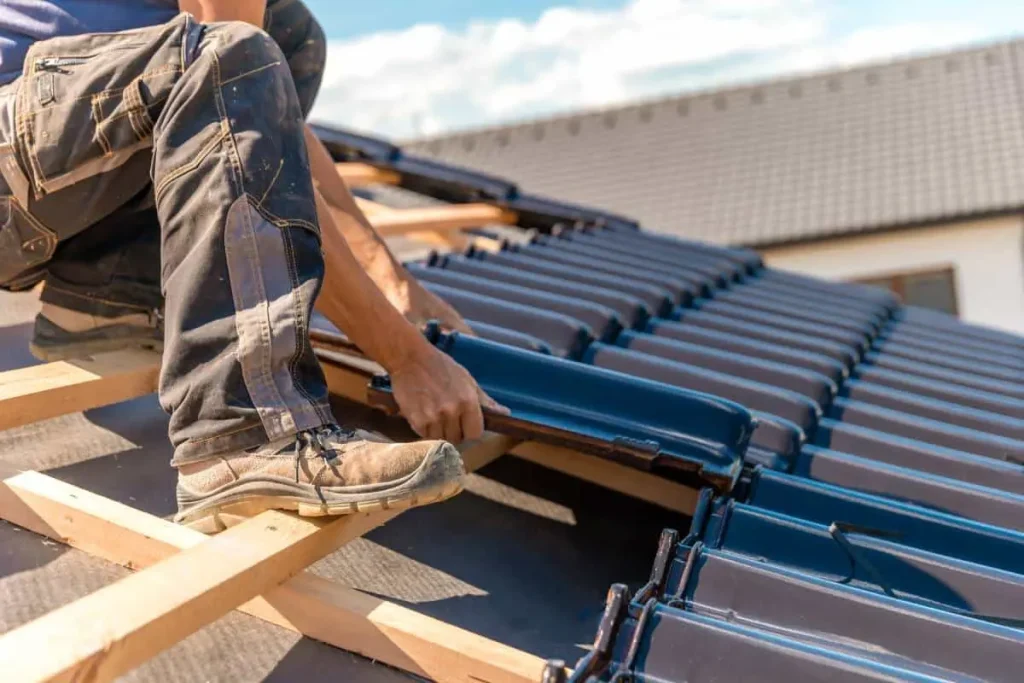
Step 8: Install the shingles
Before starting installing shingles, add a layer of underlayment around vent pipes and fix it with roof sealant. Now start shingle installation at the roof. Follow the manufacturer’s nailing instructions or get advice from professional roofing installation services. This process is important as insufficient nails lead to roof failure during storms.
When you reach towards the vent, drive nails through the flashing and into the decking after sliding the bottom shingles. Every nail head should be sealed. Now cut the shingles as required.
Step 9: Cover the ridge
When you get to the ridge, apply the same technique as you did during felt paper installation. Wrap the 1st and 2nd side over the top respectively. Bring a utility knife with hook blades to the appropriate size of shingles. Your DIY new roof installation is almost complete.
Step 10: Install flashing for the steps and dormers
Apply self-stick underlayment to the walls minimum half foot above the ground. Check if water smoothly passes the flashing, it means your roof has an extra water-proof layer.
Step 11: Seal it Up
Now in the last stage expert roofing assembling seal the edges in following way;
Seal it up by caulking all of the exposed vent and stack flashing nails. Seal the areas carefully where rubber connected to the pipes.
Ask for Expert Assistance
Roof installation DIY idea is a great and interesting task but in case of safety concerns and confusion about How to install roof you can always ask for roofing experts. The FRS roofing team is always there to assist you in Massachusetts by offering one of the best roofing installation services. Feel free to contact us or visit our FRS Roofing website for more roofing DIY information.